Gamemasters · Parties
Create Parties & Invite Players
Make a Party (Cohort), share its 6-character join code or link, and invite students by email.
Verified against app build 2f427ecbd · 2026-10-07
A Party (Cohort) is the group of students who learn together — one class period, one section, one group. You create one on a House (course) you run, and RPGLMS generates a 6-character join code that students use to enroll. Creating parties and enrolling students is free and unlimited on every tier.
You can create a Party on a House you own, and on a House you collaborate on: each collaborator runs their own Parties there. See Invite collaborators.
A Party enrols in the course, not in one unit
That is why parties are managed from the course and not from a unit’s builder: a section plays every Campaign in the course, so one join code covers all of them — including units you add later. Managing sections from inside one unit would mean picking an arbitrary unit in order to edit something that belongs to all of them, and it was moved for exactly that reason.
Create a party
Open the course's Switch Section dialog
Open a House you run. In the app bar, the section button (a crown, or the current section’s icon) opens Switch Section. It lists All Sections, then each of the course’s Parties with its join code and an edit and delete menu, and a Create Party button at the bottom. The owner sees every Party in the course; a collaborator sees the ones they run. A student never gets this button, because a join code is a credential.
You can also add one from My Houses: open the course’s menu and choose Add Section.
Capture pendingThe Switch Section dialog on a House's page listing All Sections, the course's Parties with their join codes, and the Create Party button1440 × 900 · 16:10Parties live on the course — one list, whatever unit you're teaching.verified @ 2f427ecbd Tap Create Party and name it
The Create Party sheet asks for a Party Name (hint: “e.g., Period 1 - Intro to Biology”) and a Party Icon. Leave the Active toggle on so the party accepts new players.
Capture pendingThe Create Party sheet showing the Party Name field, the Party Icon selector and the Active toggle390 × 844 · portraitName the party and choose an icon.verified @ 2f427ecbd Save — the join code is generated for you
Save the party. The server creates it, generates the 6-character join code (you don’t type it), and records you as the party’s Gamemaster. The new party appears with its join code.
If this is the course’s first party you’ll have met the code already — creating a course hands it to you at the end of the create flow.
Share the join code
Open Party Management and expand the party
The Switch Section dialog shows each code, and the share actions live on the Party Management screen. From the navigation drawer’s campaign section, open its menu and choose Party Management. Expand a party there and, below its Roster, a Join Code: row (bold monospace) carries three actions: copy the code, copy a join link, and email it.
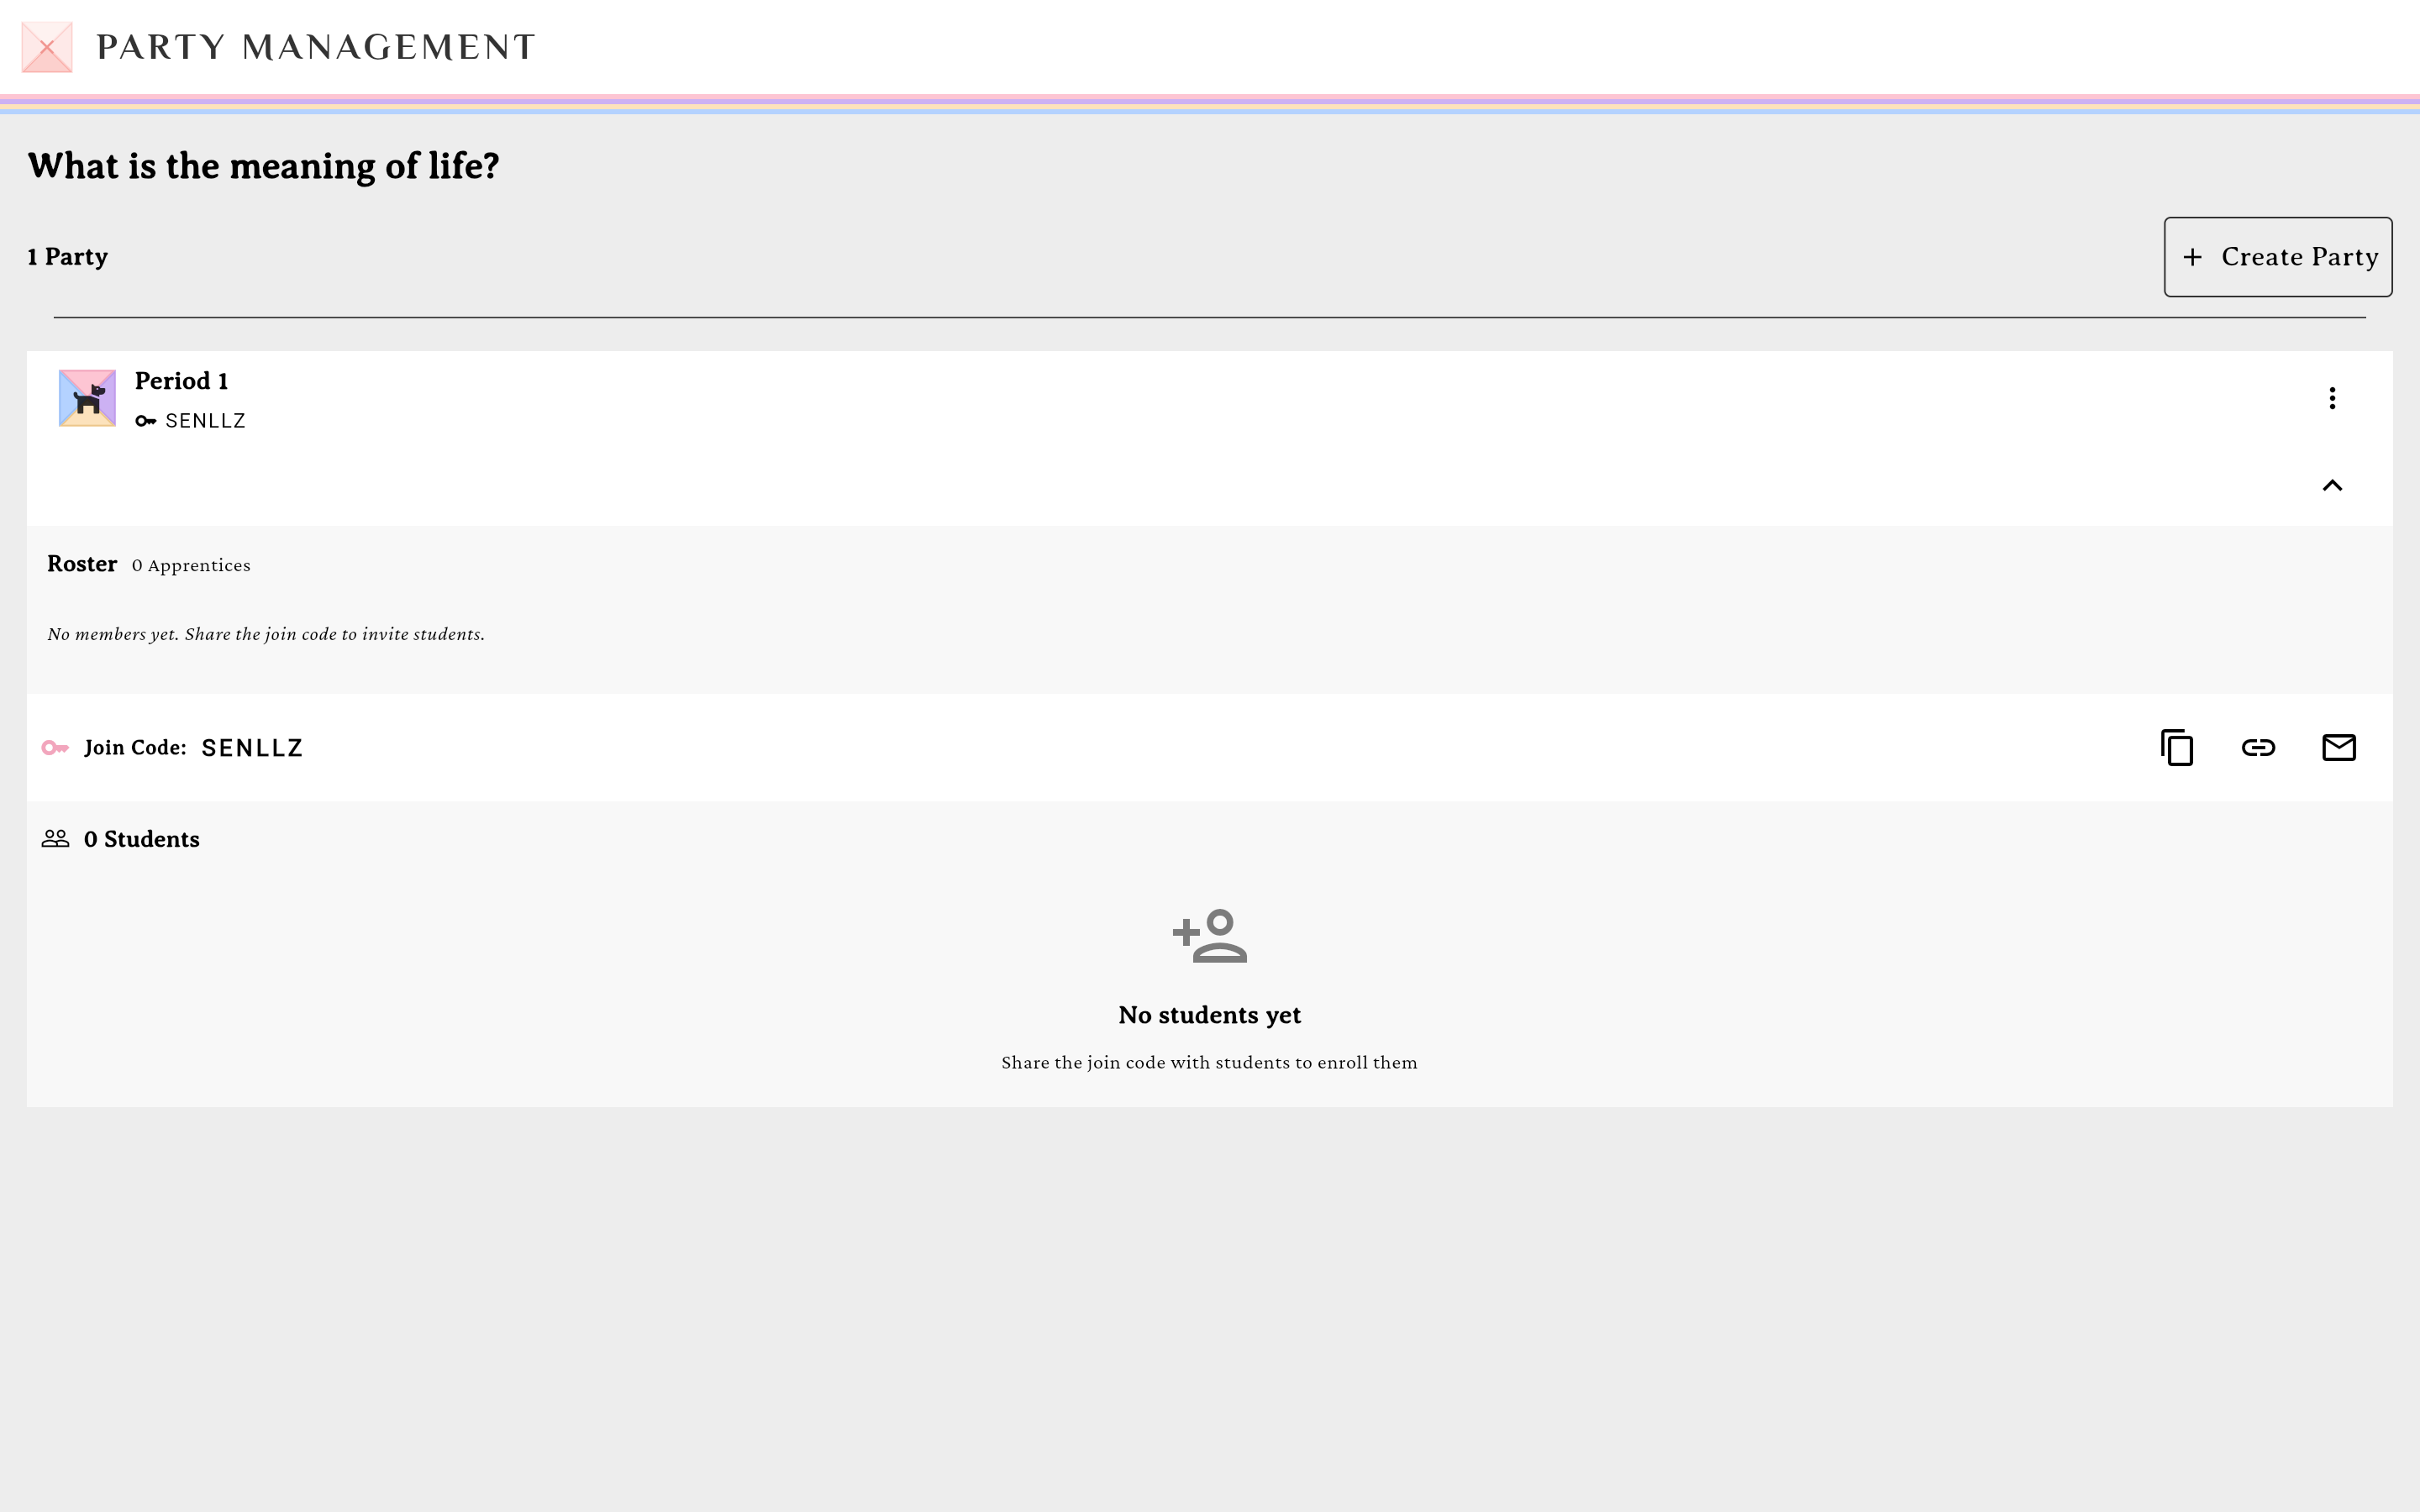
The Join Code row with its three share actions.verified @ 2f427ecbd Browse the gradebook roster
The same screen also shows the class roster — a per-student tile for each member with a path progress row underneath. The party’s member count lives here too. For records across the whole House, use Party Records: the gradebook icon in the course page’s title row.
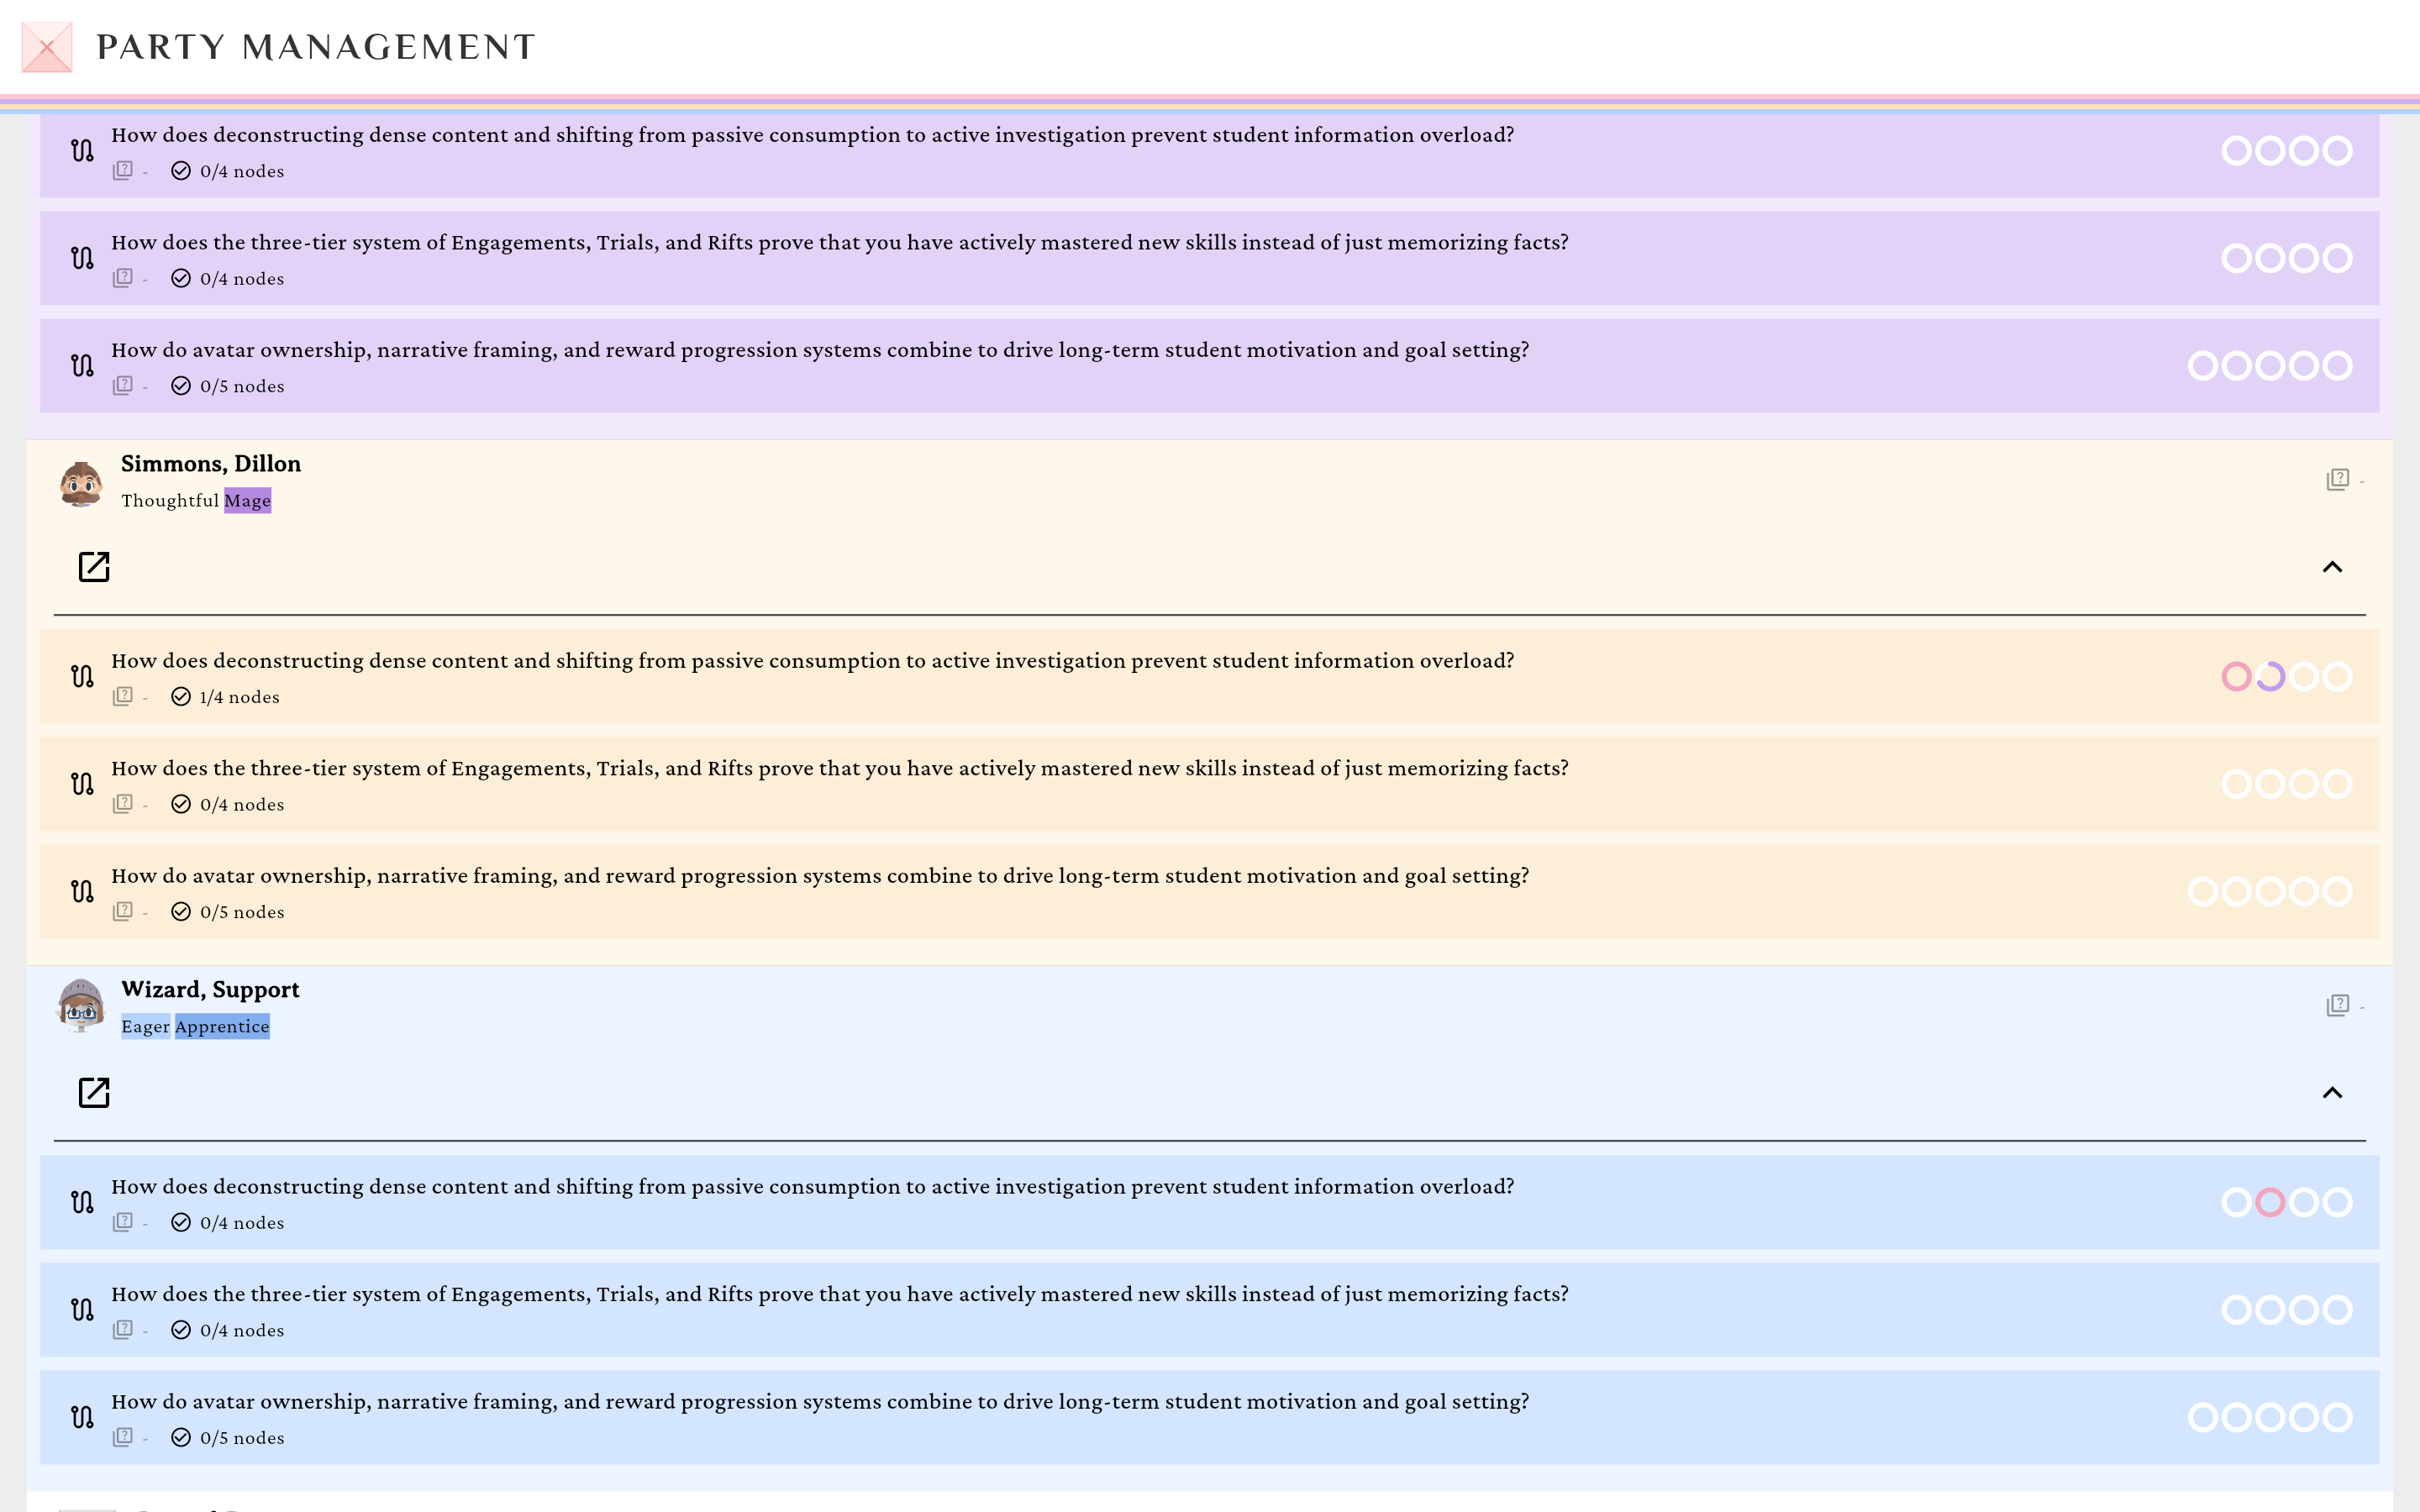
Per-student progress, right below the Join Code row.verified @ 2f427ecbd Copy the code, copy a link, or email invites
- Copy join code copies the 6 characters.
- Copy join link copies
https://app.rpglms.com/join/<code>— students who open it sign in (if needed) and join automatically. - Email invites opens the invite dialog.
Send email invites (optional)
The dialog (“Invite to <party name>”) offers Single, Bulk, and CSV modes. Enter addresses and tap Send Invite / Send N Invites. A “pending invite(s)” line appears under the Join Code row. (Party invites are always student invites — there’s no role selector for a party.)
Manage members
Once students join, each member row has a Member actions menu with Make GM (transfers ownership — you become a student, after a confirm) and Remove from Party (their progress is retained; they can re-join with the code).
Going public?
Listing a party publicly is a separate switch in Edit Party, labelled Public Party — not part of creating one. Its rules are enforced by the server:
- Only the House’s owner can list one. A public listing advertises the course, so a collaborator who runs their own Party never sees the switch.
- One public party per House. A second one would list the same course twice. Try it and you get “This House already has a public party. Only one public party per House is allowed.”
- Hosting needs an active Lord subscription, not merely a past one. On any other plan the switch reads Make Public (Lord) and opens an upgrade prompt. See the subscription tiers.
- A lapse delists you quietly. Your party is not un-published — it is filtered out of the listing, and joins are refused (“This public party is no longer available”), until you renew. Nothing announces this, so check Explore after a billing change.
- A Realm party can never be public, for anyone, admins included. In place of the switch, the sheet says realm parties stay within your realm.
Browsing Explore is open to everyone outside a realm, on any tier. A realm member of any tier doesn’t get it: their realm’s content is all they can reach. The listing itself is course-grained: each row in Explore is a House, not a unit.
Empty states
Before anyone joins you’ll see “No members yet. Share the join code to invite students.” and an empty gradebook (“No students yet — share the join code with students to enroll them”).